2.27.2011

dancer...infant style (..headband tutorial..)

One of my (Kate's) dear dancing friends is adorably pregnant!!! She is expecting a little sweet girl and I wanted to create something for them to enjoy.  First, I had some ballerina baby socks....check.  I found little dancer onesies at Target...check.  Then I created this precious infant headband:

Infant Headband Tutorial
Step One:
        I investigated online infant head circumference's and found for babies 0-3 months 13" works.  This measurement includes the overlap.  I found this shimmery soft elastic at Jo-Ann Fabric...love it!!! I bought extra b/c it is so great! Anyway, I did a small overlap and machine sewed like three times to make it nice and strong!

Step Two:
       Cut out a felt circle a little larger than the width of the soft elastic.  I went with an all white theme...so?!


Step Three:
        Cut out 3 different sized circle groups of tulle....large/medium/small (you could probably do just large/medium...)  I have ~10-13 circles per group (except small I used 8).


Step Four:
        Start to layer by placing large circles first on top of your felt circle.  It is important to make sure you have a 'center' so all the tulle will be sewn to the felt eventually.  Place around the felt and again making sure an edge of the large circles hit your 'center'
       Then add your medium size circles, again keeping an eye on your 'center'!

Step Five:
       Prepare your needle and thread!  I sewed an X through the felt and tulle...see below...later you will make it more secure. 


Step Six:
      Now pick up one of your little circles and fold it in half and then half again (below I showed you both steps).  Then sew your quarter folded circles one by one and placing the point in your 'center'. 


Step Seven: 
       Sew on a cute little button directly on your center and tie off!! 


Step Eight:
       Sew your little creation onto your headband and TaDa!


I have my infant headband now made....check.  Lastly, for my fun gift, I created this infant tutu....SPEECHLESS...it is just tooooo cute!

I used this tutorial and added some of my own flair. 

My Measurements/Notes/Additions:
  • For infants 0-6 months cut waist elastic 16" overlap and sew!
  • Cut 16" piece lengths of 6" wide tulle (purchased from Michaels in spool form in wedding aisle).  These will be folded in half once knotted onto the elastic waistband. I used rotary cutter with a pinking shear design (love that tool) to cut the pieces, which gave the ends a little special touch. 
  • I only used one piece of tulle for each knot. (the tutorial above used three per knot)
  • It used basically used the whole roll of tulle (25 yards), I had only one little strip left!  I used that scrap for the headband!

I can't wait to see how it looks on a precious little one!  My baby nephew (well, his parents) might not have appreciated me trying these creations on him...hehe

2.24.2011

Influencial Individual


President Abe Lincoln


In honor of Presidents' day this week and our courageous leaders, we wanted to share with you some artwork created by my students. Painted on 20" x 20" squares, each seperate piece is fabulous in its own right. The students each received a 1" x 1" paper and were asked to proportionally enlarge it using math  and reasoning connections.  They painted the positive space with red paint and outlined it with blue, of course!


March is national Youth Art Month!  Celebrate visual art in schools. Honor the artist that you are! Pablo Picasso once said,  "Every child is an artist. The problem is how to remain an artist once we grow up.”  We are so excited to start sharing with you next week various lessons, inspirations, and ideas that our student-artists possess.


Stay tuned! While you are waiting, pick up a paintbrush, sidewalk chalk, or pencil and start creating!


2.17.2011

good day sunshine!

What a week!!!
George Clooney, voted Sexiest Man Alive in 1997 (when he was 30) is in Cincinnati
 shooting his movie, "Ides of March". 
FUN!

Today was 70 degrees and sunny! Love it!


Tracy is 30...New Decade! Bring it!

~HAPPY THURSDAY~


2.15.2011

Needs...

We all have...
NEEDS and WANTS

I agree with the Beatles when they said All You Need is Love!  In order to express this eternal feeling for the most recent holiday I created this little banner to spice up my window shelf... Our Little Off North team had experiment #2

Salt Dough:
Salt dough has a sparkly texture. It is heavy and strong and is especially suited for large or standing pieces, such as plaques or trivets, or as foundations for other, more delicate craft doughs. Salt dough keeps indefinitely when covered and refrigerated.
Recipe 1
2 cups salt
2/3 cup water
1 cup cornstarch
1/2 cup cold water
Food coloring, tempera, or other water-base paint
Mix salt and 2/3 cup water in a pan. Heat until quite warm. Remove from heat. Mix cornstarch and cold water together and add to mix in the pan, stirring constantly. Return pan to stove and keep stirring until mixture forms a smooth mass. Turn out on a plate and cover with a damp cloth until cool. Work in coloring if desired.
Shape on a foil-covered cookie sheet and let dry thoroughly - several hours in a warm oven or several days at room temperature. Smooth away rough edges with a nail file.
This was one of the most intriguing and exciting art's I've done!  Little Off North LOVES anything sparkly..so we were in!  This was so fun...I highly suggest trying.


There is still a nice ball in the fridge waiting to be made into a creation!!

Then on family dinner night here I created this reminder with the aide of my mother and father..ha!


My father is King of the Knots...he knows (I think) them ALL: So I of course called him in on this one. I swear he'll save my life one day with his Knot Knowledge!


It been great seeing this lovely site hanging in my dining room!  P.S. please praise my creative workspace...not judge (hehe)
Hope you all had a sweet Valentines Day! I, Kate, spent it with my lovely Manyet Dance girls...Geoff and I celebrated Saturday!

2.13.2011

Our Little Off North team had some interesting experiments lately... 1st Bread Dough....

Bread Dough:
Bread dough is easy to work with, and it can be pinched, rolled, ruffled, and stamped. It is a delicate dough, ideal for jewelry and other small pieces. Bread dough will keep for weeks when tightly sealed and refrigerated.
Bread dough does not need a protective finish; unsealed, it resembles bisque. For a soft sheen, brush the piece with a mixture of equal amounts of water and glue. For a high gloss, brush with the glue-water mixture and let dry. Then give the pieces several coats of lacquer, letting dry between coats.
Recipe
2 slices white bread
4 Tbs. white glue
Tempera paint (optional)
Remove crusts from bread and discard. Tear remaining bread into tiny pieces. Place in a bowl and add glue. Stir with a spoon until the mixture forms a ball. Knead until smooth, adding paint as desired. Shape piece; place on a foil-covered cookie sheet and let dry.
We found this to sound fabulous due to not needing a protective finish...and we love bisque....well, we weren't impressed in the end. They took FOREVER to dry and still not sure if we love the end product.  We did NOT add Tempera paint as it was optional in the recipe.  They've been 'antiqued' with some brown paint and then stamped!  What is your opinion? (Geoff wanted to eat them b/c he thought they looked like cookies...hahaha)


2.10.2011

little old tradition

If you know the Soard family well....then you know about our special Christmas wrapping.....
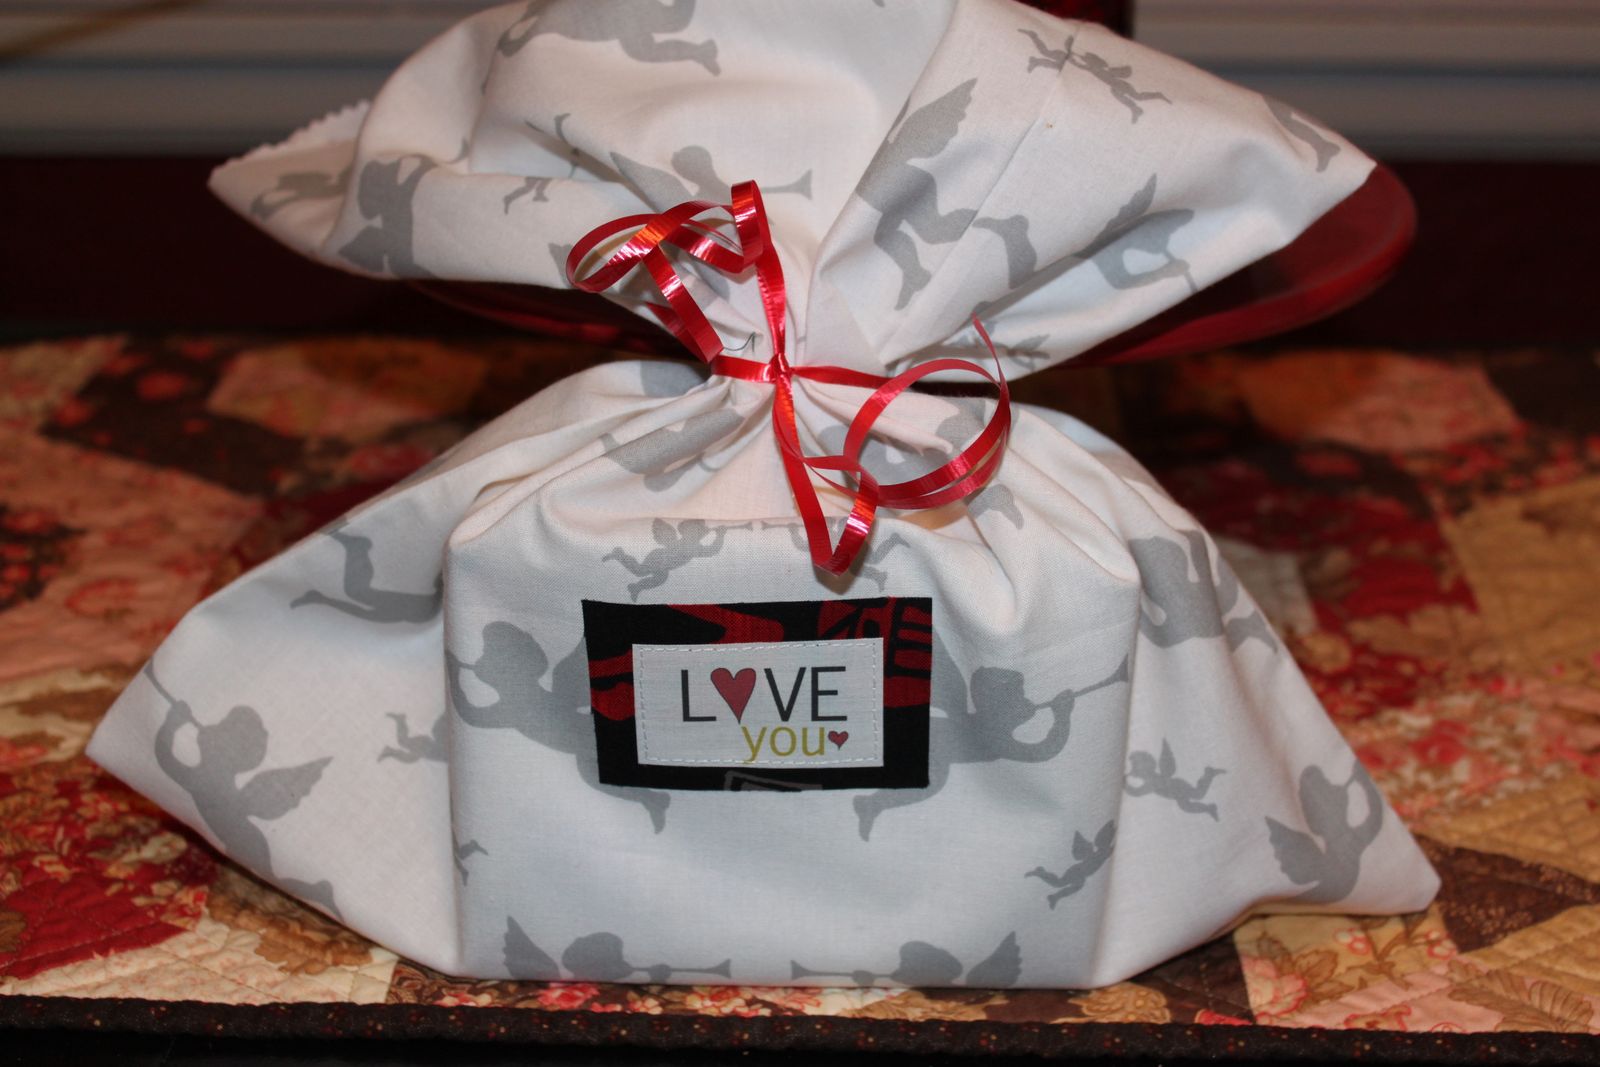
From as early as I can remember Santa/Mom.Dad/Aunt.Uncle/Grandma.pa presented our gifts in fabric bags.  This was pre-gift bag era and my family was apparently progressive in 'green' giving!!  So every year we'd pull out the huge box of homemade multi-fabric/multi-sized fabric bags and WRAP away.  It was SOOO fun and easy and it was always a blast for me to see who got the white fabric with red roosters embossed on it bag for a present (sounds like a perfect holiday pattern-right?!)!  Anyway, I have always thought why did we ONLY do the fabric bag for Christmas?.......
While Tracy and I were shopping at IKEA one afternoon, I laid my eyes on this adorable SALE print-- had to purchase!! I went to town last week on my mom's trusty sewing machine and oh do I love what came out!!!

Three of the four bags


Bless my mother for aiding in this mini-project! I just have been loving these little bags full of love!  The adorable labels are from Sweetwater, given to me as a Christmas gift from my Uncle....aren't they just tooooo great!
Can't wait to see what lovelies come out of these for the rest of my life......